

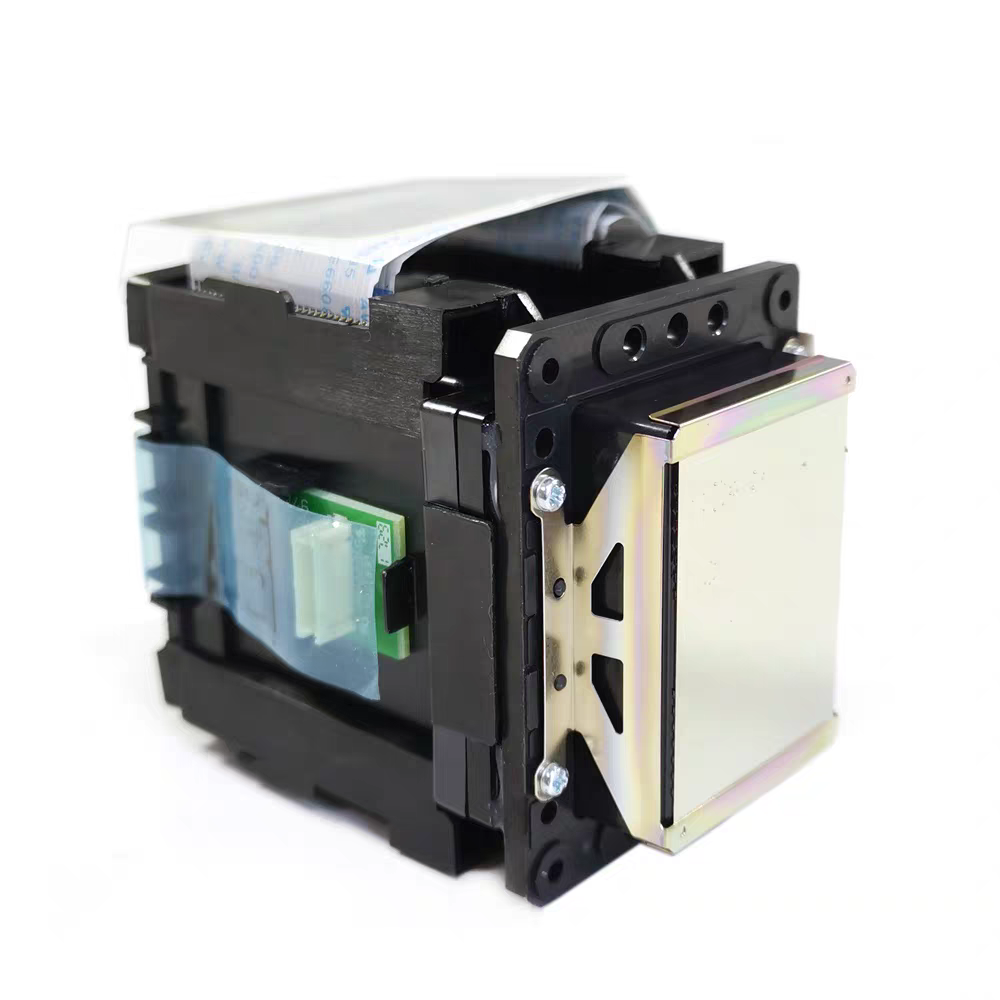
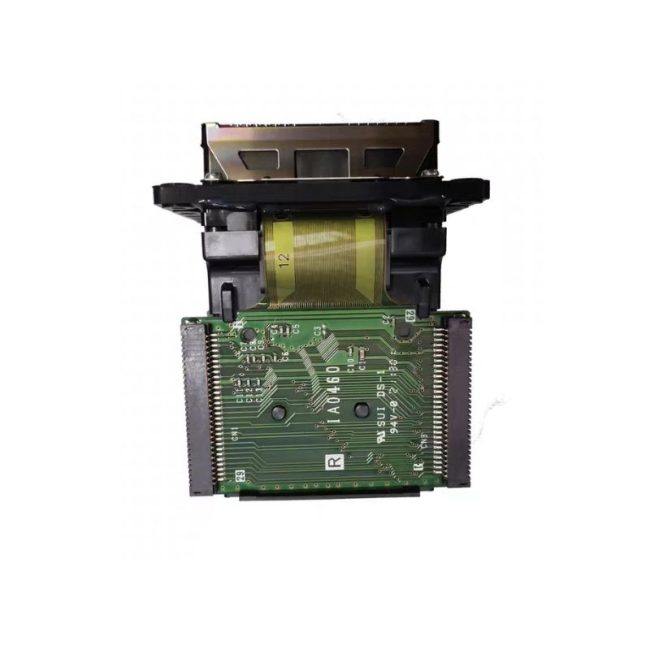
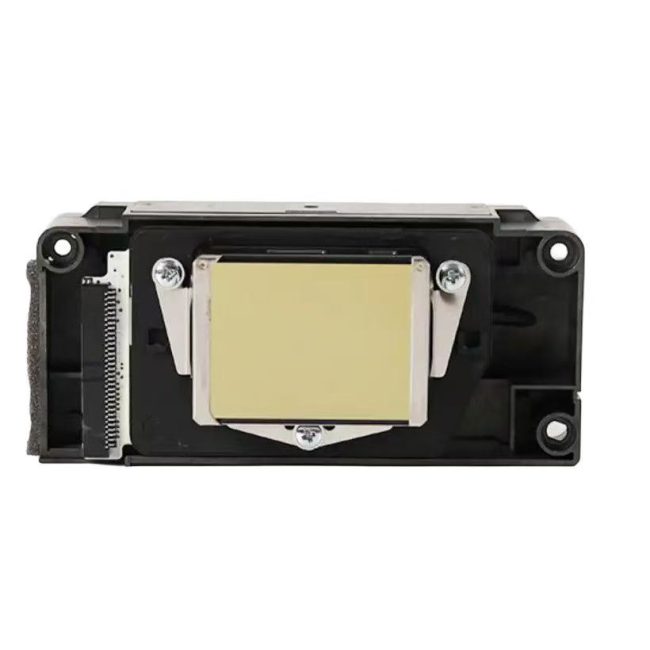
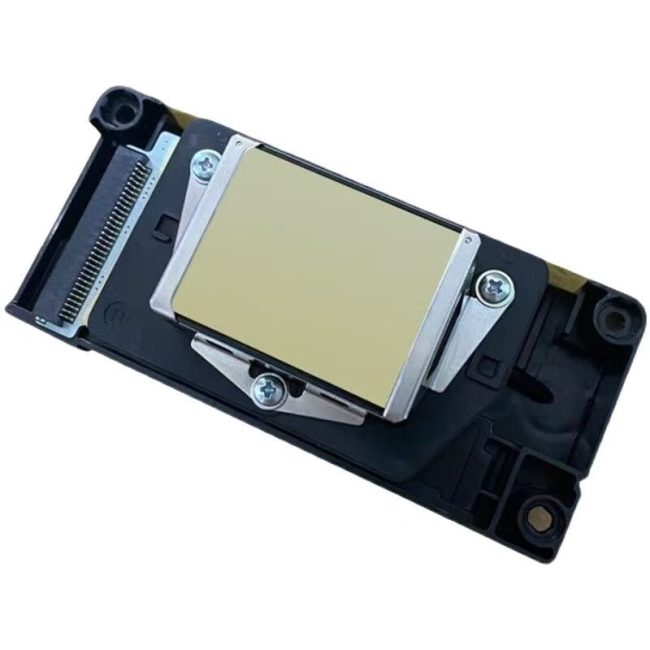
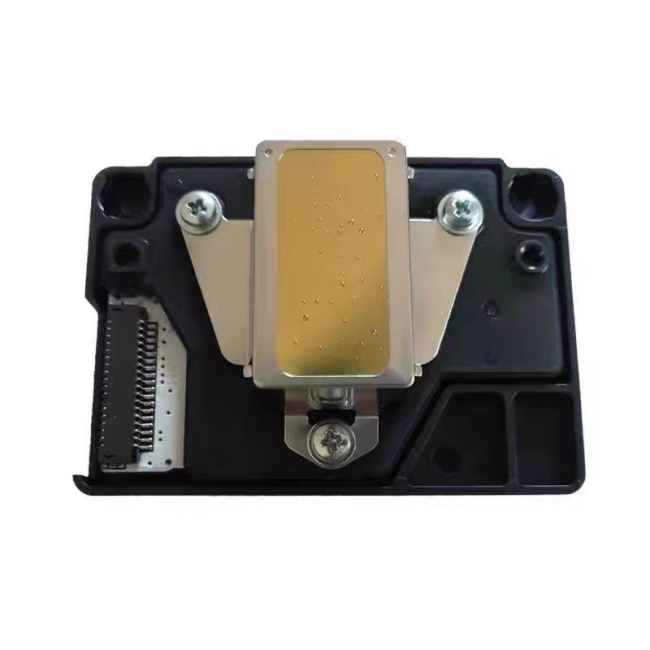
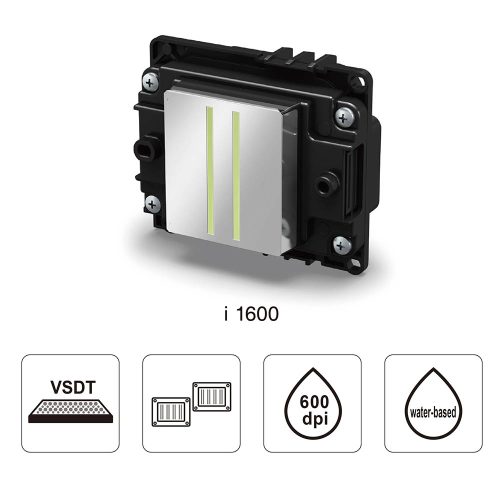
Mimaki JV300 and JV150 printer heads are compatible with ES3 and SS21 eco-solvent inks, as well as Sb53 and Sb54 water-based sublimation inks. They are widely used for producing signage, knife-scraped fabrics, tapestries, posters, flags, vehicle wraps, wallpaper, sportswear, interior decor textiles, fashion textiles, and in-store daily goods.
Mimaki JV300 and JV150 printer heads Applications


Product Attentions
Precautions when changing the nozzle
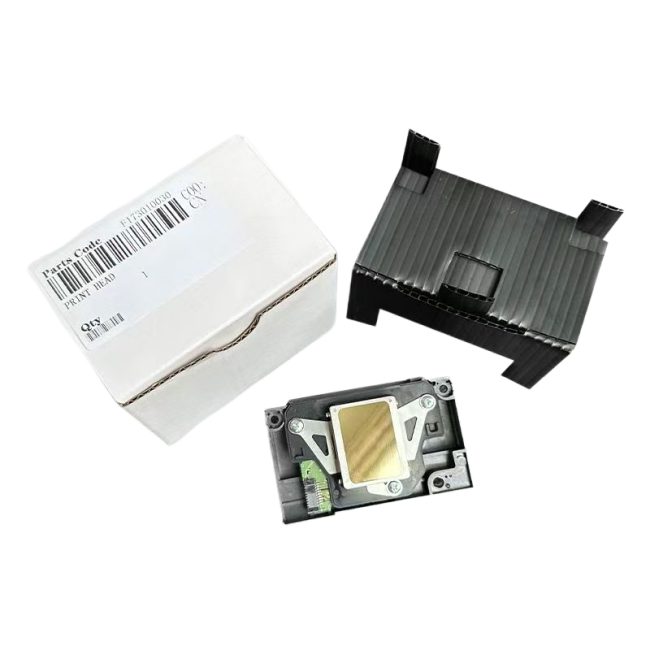
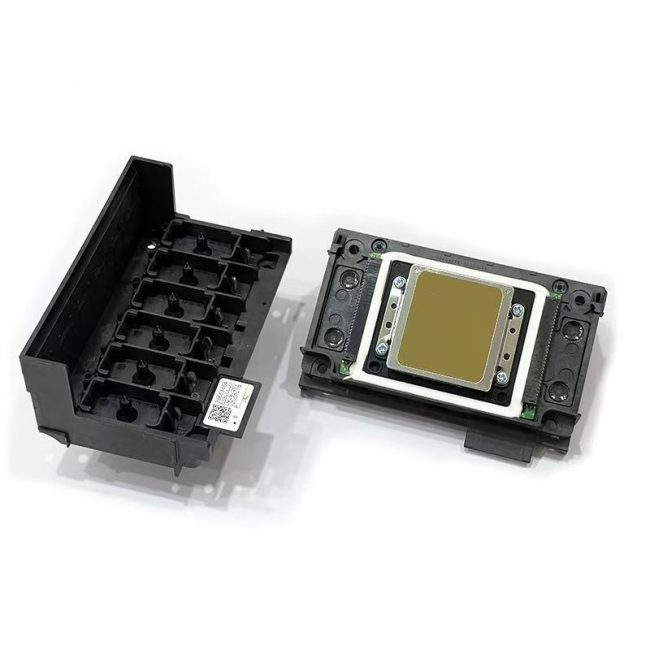
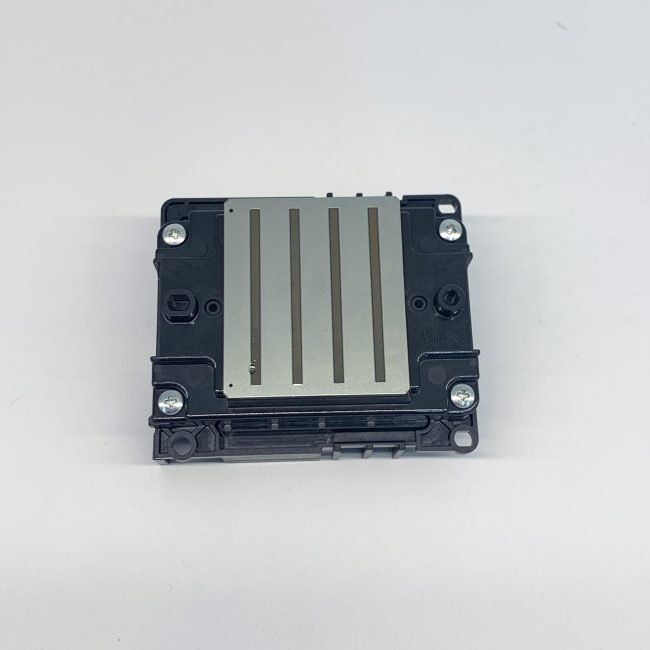
After receiving the purchased nozzle, I went back and used a syringe to fill it with water to check if it was clogged. This is a very redundant and dangerous practice. First of all, if water gets into the nozzle and you power on the machine without drying it, it will cause the plate to burn at best and the head to burn at worst. Secondly, all the nozzles sold in our store have been strictly inspected and tested by the original factory before being dispatched, and they are filled with protective liquid. If you inject water into the nozzle with a syringe, not only will the protective liquid in the nozzle be washed away, but also due to the excessive pressure from your hand, it is easy to cause air blockage in the nozzle, resulting in no ink coming out.
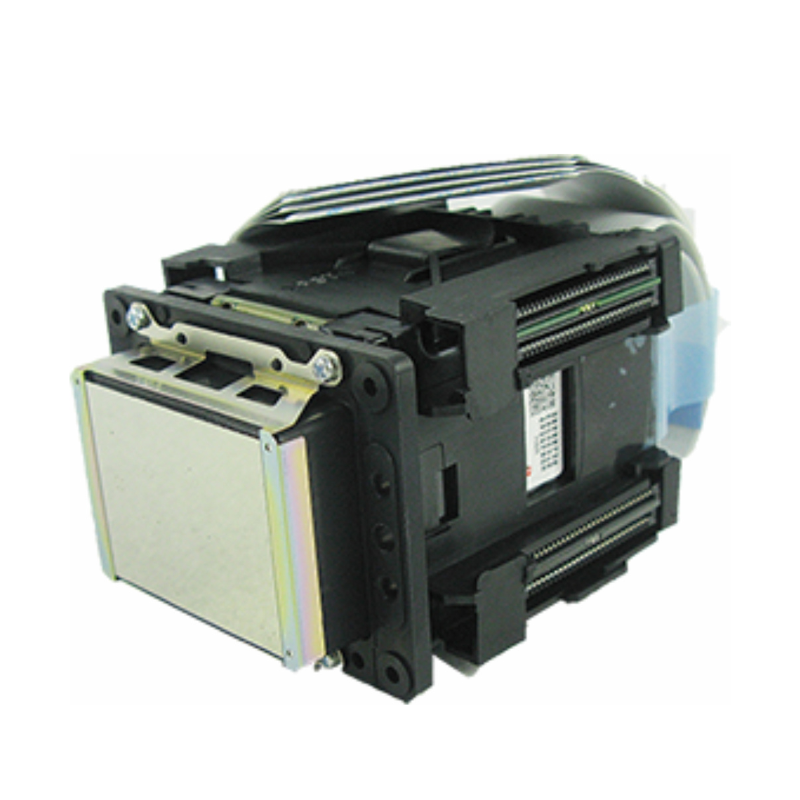
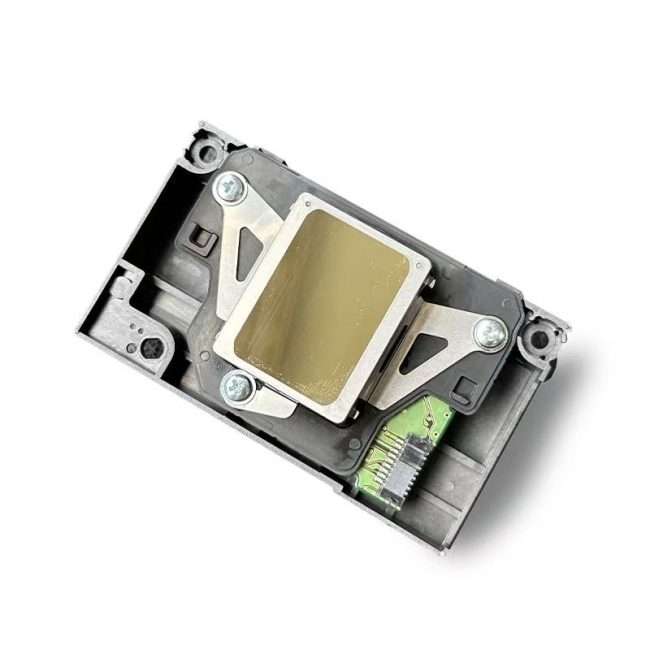
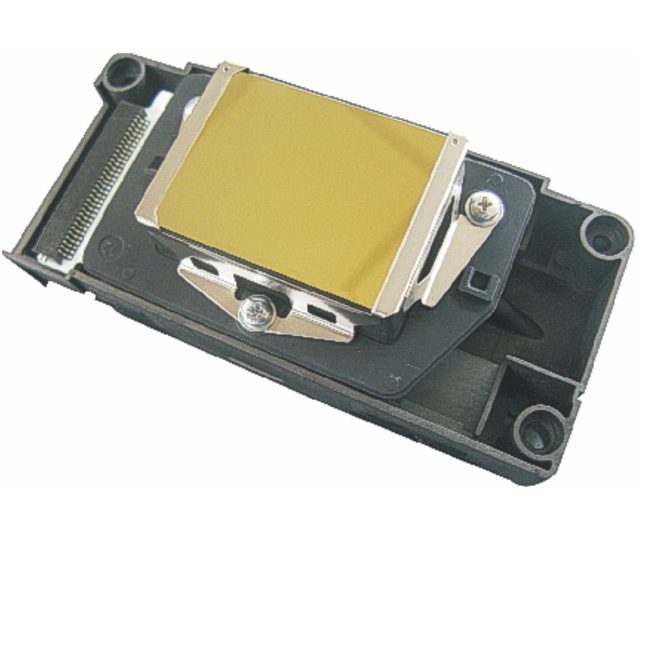
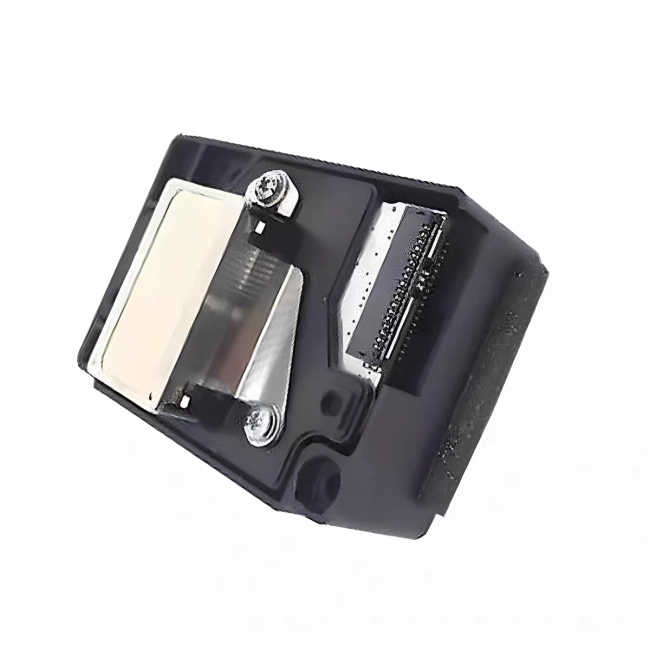
2. The head of the nozzle is extremely fragile and must not be bumped. It is essential to protect it well. Its surface layer is an aluminum sheet, and the inner layer is coated with a crystal oscillator and a very fine ink tube. It will dent, deform or even break at the slightest touch, and then the nozzle will be scrapped.
When installing the nozzle, be careful as well. Make sure to cut off the power first and install it in place. After installation, gently push the trolley left and right with your hand to check if it moves smoothly. Do not power it on immediately after installation, because if the head is not in place, it is easy to break the head when the trolley moves. However, human hands have a sense of it and can move it freely and controllably.
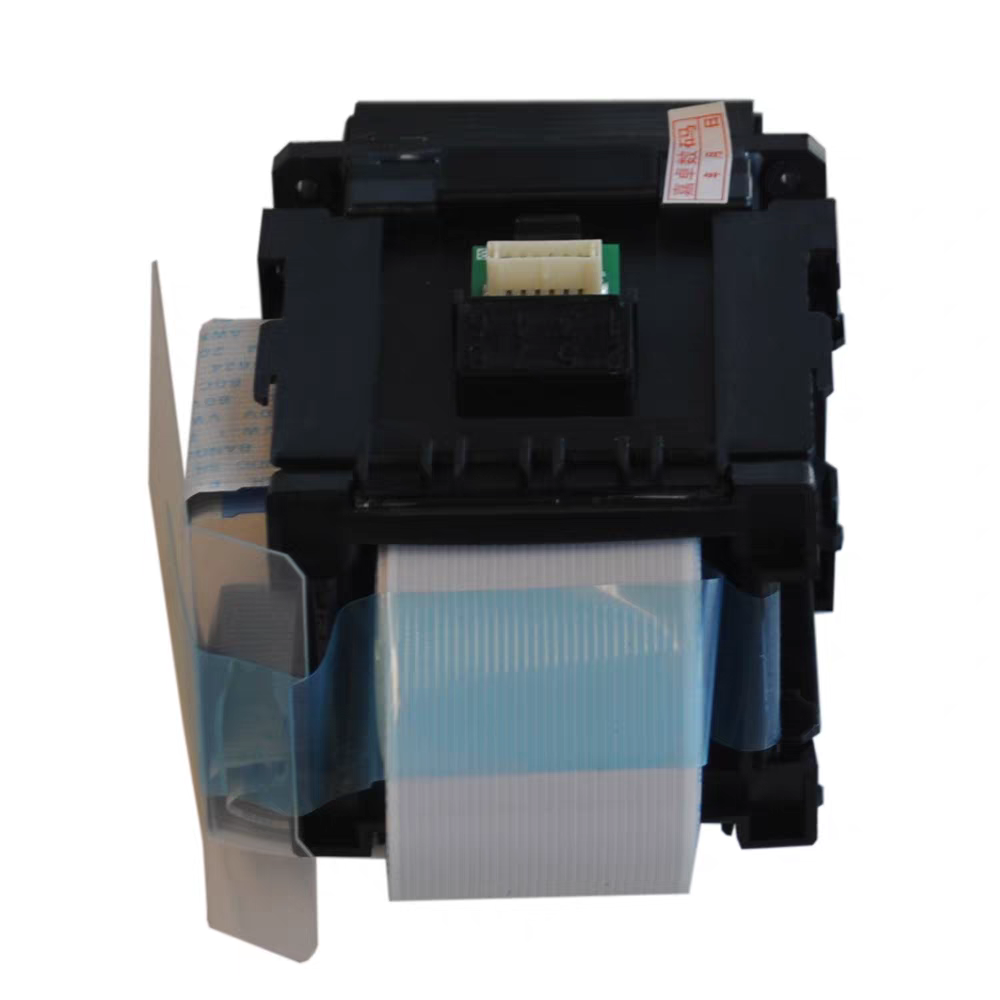
4. When connecting the plug cable, never bring ink on it. Also, make sure it has good contact with the socket and does not touch your feet. Otherwise, it may cause a short circuit and burn out the nozzle.
5. The steel shaft should also be clean and smooth. You can wipe it with a paper towel dipped in a little lubricating oil. Do not directly apply oil to the shaft, as excess oil will flow onto the nozzle and cause damage.
6. After the mechanical and electrical systems are all correct, it’s time to inspect the waterway. First, check if the water level in the ink cartridge is sufficient. Secondly, check whether the small cleaning scraper and the ink suction pump are dirty.
7. There will be air inside the newly installed nozzle, so it won’t print normally immediately. Only after all the air inside the nozzle is completely expelled can the lines be produced normally and neatly. Firstly, intermittent cleaning can be adopted (cleaning only twice at a time, then stopping for 30 minutes and cleaning again twice). If cleaning is done repeatedly and excessively, it will cause ink accumulation in the cleaning pump. This not only leads to color mixing and ink leakage during printing but also wastes ink. Secondly, you can print more pictures to let the nozzle expel air during operation. Secondly, if the machine has already drawn out the used ink tube, you can first cut off the power, then use a syringe with a rubber tube to draw out the used ink tube until 3-5 ml of ink is drawn out. Then turn on the machine and clean it normally once. This is equivalent to artificially forcing out the air in the head, and the side effect is that it is easy to cause ink accumulation in the cleaning pump.

 No products in the cart.
Reviews
There are no reviews yet.